Making Your Own Embroidery Patches: How to Do It
Embroidery Patches: An Introduction
Embroidery patches are more than just decoration; they’re a way to express yourself. Whether you want to enhance clothing or accessories or start a business, learning what is needed to make embroidery patches is a valuable skill. From materials to digitizing with Aqua Digitizing, this guide will walk you through every step.
Gathering your materials
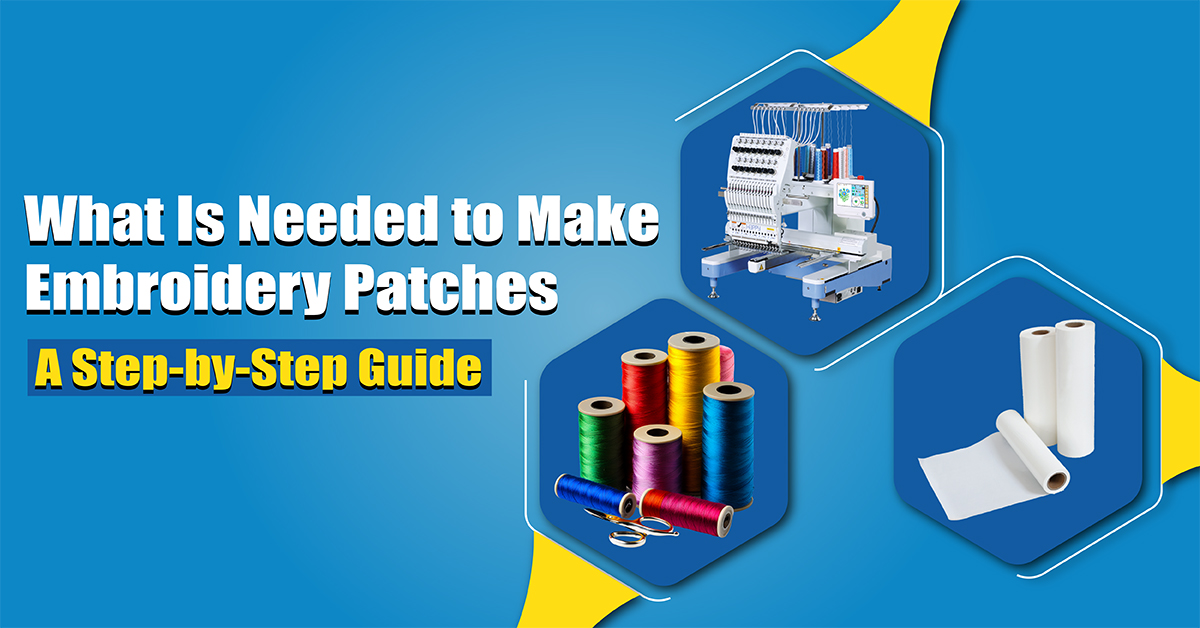
To make embroidery patches, you’ll need the right tools and materials. Here’s what you need to make embroidery patches:
Choose durable fabrics like twill or felt that can hold the embroidery and last a long time.
You can bring your designs to life with vibrant embroidery threads.
For easy application, choose between iron-on or adhesive backing.
An embroidery machine is essential for handling complex designs and ensuring accuracy.
An embroidery hoop keeps your fabric taut while you embroider, while scissors keep your edges clean.
Here’s a tip:
Shop Joann for fabrics, threads, and embroidery supplies.
Imagination to Reality: Design
The most creative part of the process is designing your patch. Don’t forget to optimize your design for embroidery, whether you’re drawing by hand or using software.
Here are some tips for great embroidery designs:
Overly detailed designs can be hard to stitch.
Pick complementary colors that pop against your fabric.
Keep the design proportional to the patch size.
Making your design digital
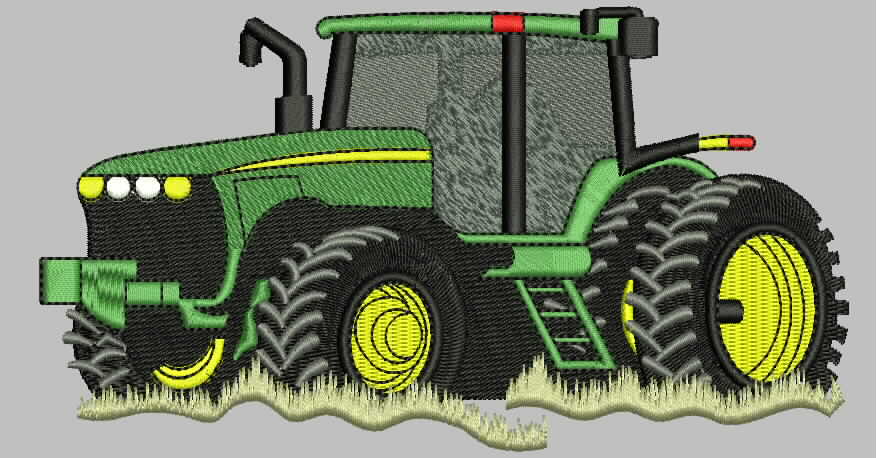
It’s crucial to turn your design into an embroidery-friendly format. With precision, Aqua Digitizing converts artwork into machine-readable files.
Aqua Digitizing: Why?
Their team ensures your design keeps its details.
Turnaround time: Get your digitized design fast.
Adjust the design before finalizing for best results.
Check out Aqua Digitizing for more info.
Bring your patch to life with embroidery
Follow these steps to create your embroidery patch once your design is digitized and your materials are ready:
Make sure your fabric is taut by using a hoop.
You’ll need to load the digitized file onto your embroidery machine.
Choose threads that match your design’s color scheme.
Embroidery: Watch the machine to make sure the design is stitched correctly.
Finish it off by trimming any loose threads and applying backing material.
Here’s a tip:
A detailed guide to troubleshooting embroidery machines is available at The Spruce Crafts.
Final thoughts
Making embroidery patches is a rewarding process that combines creativity and craftsmanship. Now that you know what is needed to make embroidery patches, you can start creating personalized designs that showcase your style. Using tools like Aqua Digitizing ensures high-quality results, whether for personal use, gifting, or business.
Put your ideas to life, one patch at a time, with embroidery!
 315-215-0681


