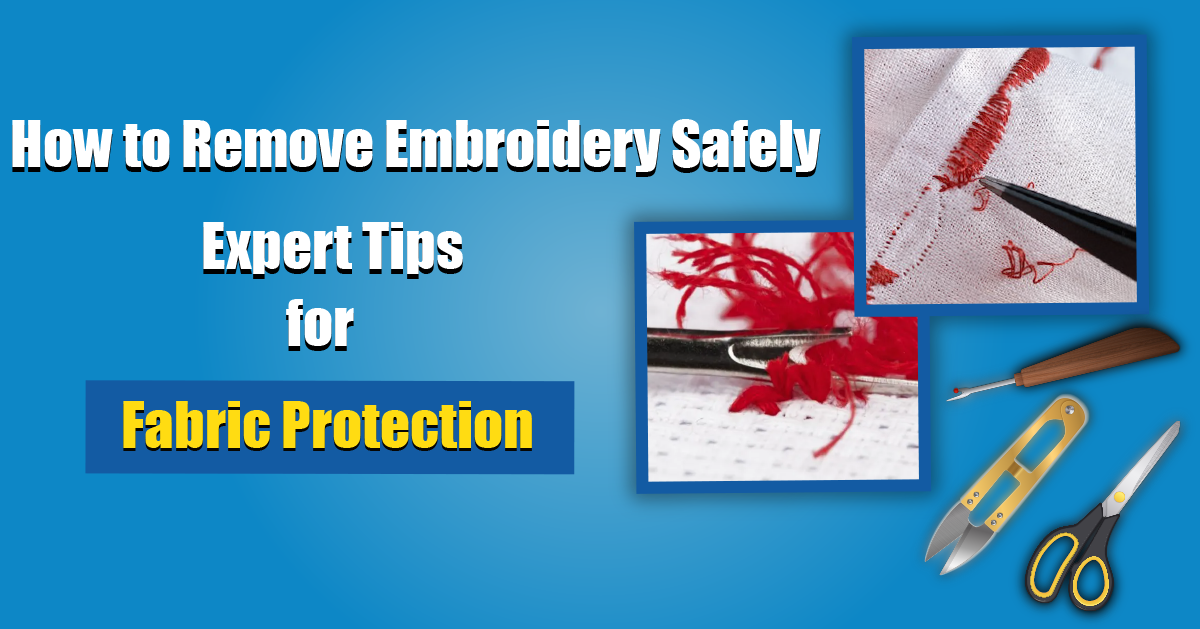
Embroidery Removal Guide: Unstitching Elegance
Here’s How to Remove Embroidery
It’s a beautiful craft that adds a personal touch to clothes, accessories, and home decor. Occasionally, you might need to remove embroidery – either because of a mistake, a change of heart, or the desire to reuse something. The fabric underneath needs to be protected when removing embroidery. With tips from experts like Aqua Digitizing, we’ll show you how to remove embroidery safely and effectively.
You’ll Need These Tools to Remove Embroidery
Make sure you have the right tools before you start. It’s easier to remove embroidery cleanly if you have the right equipment.
You can cut stitches perfectly with the Seam Ripper.
Pulling out small, loose thread pieces is easy with tweezers.
For intricate designs and tight stitches, use a magnifying glass.
After you’re done taking out the lint, use a lint roller to pick it up.
Once the embroidery is removed, use an iron and a pressing cloth to smooth out the fabric.
How to Remove Embroidery Step-by-Step
1. Look at the embroidery design
Take a close look at the embroidery before you start removing it. Identify what kind of stitches are used and how tightly they’re embedded. Using this step will help you decide how to approach the removal process.
2. Don’t forget the backside
If you want to minimize damage to the front of the fabric, start from the backside, where the knots and thread ends are visible. This makes it easier to get to the stitches without affecting what’s visible.
3. Use a seam ripper gently
Put the seam ripper under one stitch at a time, and carefully cut through the thread. Don’t pull the fabric too hard or cut it. Start with small sections and work your way up. It takes patience, so don’t rush to avoid fabric tears.
4. Use tweezers to remove loose threads
Use tweezers to pull out the loose threads once you’ve cut through. Lint rollers are great for picking up tiny threads left on fabrics.
Different fabrics require different considerations
There are different levels of care for different fabrics. Depending on the fabric type, here’s how to remove embroidery.
Fabrics that are delicate (silk, chiffon)
Don’t remove embroidery from delicate fabrics without extra care.
You don’t want to pull or distort the fabric, so use a fine seam ripper.
Don’t damage the fabric by pulling the threads too hard.
Fabrics that are sturdy (denim, canvas)
Fabrics with more strength can handle a bit more force, but be methodical.
It may take a little more effort to remove thicker threads, so be patient.
You don’t want to damage the fabric fibers by cutting them.
How to take care of your fabric after removal
It’s possible that the fabric will have needle holes after the embroidery is removed. Here’s what you need to do:
To fix needle holes or fabric distortions, place a pressing cloth over the affected area and iron gently.
You can get rid of needle holes by washing the fabric gently.
Adding new embroidery or patching the damaged area can cover the imperfections if the fabric shows signs of damage.
Conclusion: Master the Art of Removing Embroidery
Learning how to remove embroidery takes patience, the right tools, and a methodical approach. By following this guide, you can safely remove embroidery without damaging your fabric, allowing you to correct mistakes or give an old item a new lease on life. With practice, you’ll become more efficient, making the process quicker and less stressful.
For expert embroidery services or digitizing needs, consider visiting Aqua Digitizing for more tips and professional solutions.
 315-215-0681


