Crafting Creativity: How to Make Your Own Embroidery Patterns
Embroidery Design Introduction
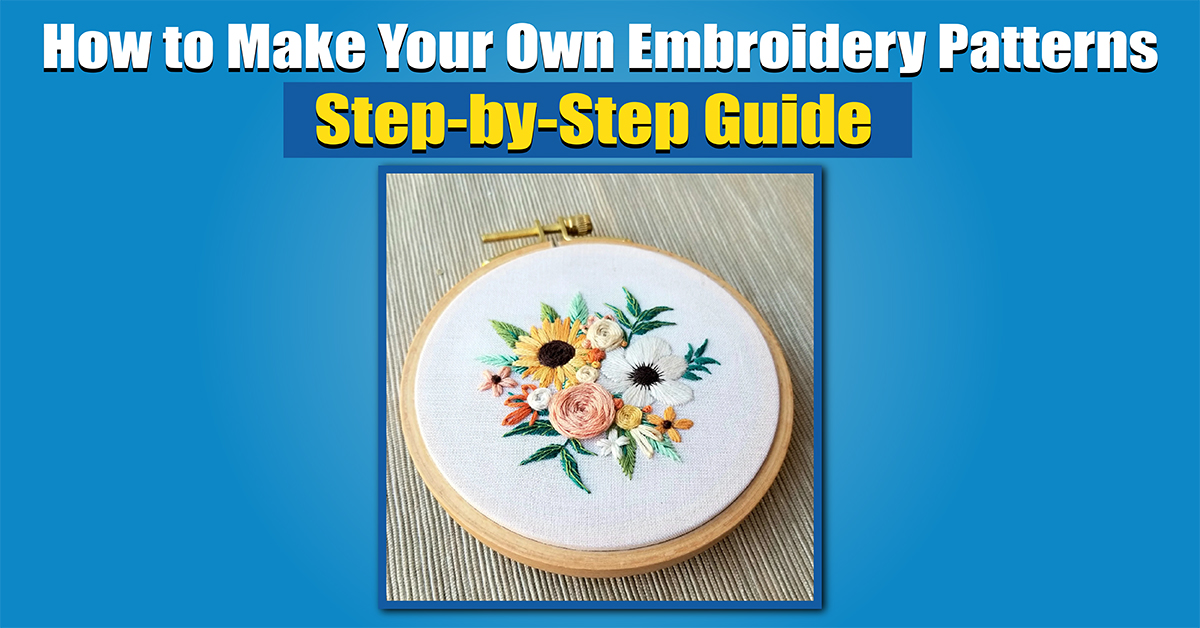
People have been embroidering for centuries, bringing their creativity to life with needle and thread. Embroidery patterns are easier than ever to design thanks to advances in tools and resources. If you’re eager to learn how to make your own embroidery patterns or to deepen your skills in embroidery digitizing, this guide will walk you through the essentials of designing your own patterns from start to finish.
Inspiration and materials
Get inspiration and materials before you start creating patterns:
Don’t be afraid to look around you. Nature, architecture, and everyday items can inspire you. Explore online platforms like Pinterest and Aqua Digitizing for unique designs.
Gather materials: Make sure you have quality fabric, embroidery floss, needles, and a hoop you can trust. Create your initial designs with a sketchpad or drawing software.
Learn embroidery software if you’re going to digitize your designs. You can make machine-ready patterns from hand-drawn sketches with many digitizing tools.
Embroidery Pattern Design Principles
The following principles will help you create an embroidery pattern that’s visually appealing and easy to follow:
Make sure your composition has balance and complements each other. Depending on your style, symmetrical or asymmetrical balance works.
Colors and shapes should contrast to add interest, but harmonize for a cohesive look.
Keeping it simple and elegant: Start with simple shapes and lines, then add complexity as you get more confident. You can make patterns more accessible by keeping them simple, especially if you’re sharing them or making machine embroidery patterns.
Getting your design digital
The next step is digitizing your design. You have to convert your sketches into a digital embroidery file that an embroidery machine can read:
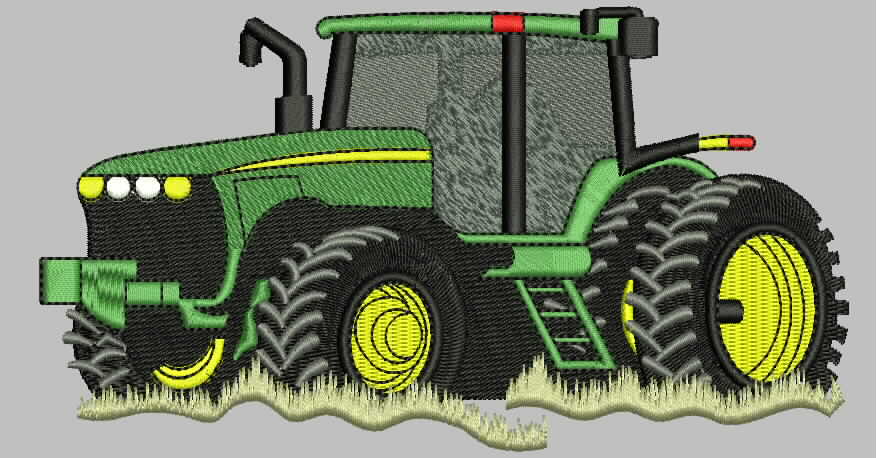
Digital tools like Aqua Digitizing’s software make it easy to turn hand-drawn designs into stitchable patterns.
Stitch Types and Density: Be sure to pay attention to the stitch types, density, and stitch sequence. They affect how the design looks and how well it translates onto fabric.
Use a sample fabric to see how the stitches look before finalizing. To get the best results, adjust density and sequence.
It’s all about testing and refining
Make sure your digitized pattern meets your standards by testing it:
Make a test fabric: Stitch your design on a sample to see how it looks. Using this, you can adjust stitch density, color choices, or anything else you need to fine-tune.
Make changes to the software if certain areas seem too dense or colors don’t seem as vibrant as they should be.
Finalize and save: Once you’re happy with the pattern, save it in your desired file format and add it to your portfolio.
Final thoughts
Learn how to make your own embroidery patterns and you’ll have endless creative possibilities. It’s easy to turn your ideas into beautiful, original embroidery patterns by gathering inspiration, applying design principles, and mastering digitizing tools. Designing your own patterns adds a unique touch to embroidery digitizing, whether for fun or to improve your skills. Every stitch brings your creativity to life. Embrace the process, experiment freely, and enjoy the process.
Part 2
 315-215-0681


