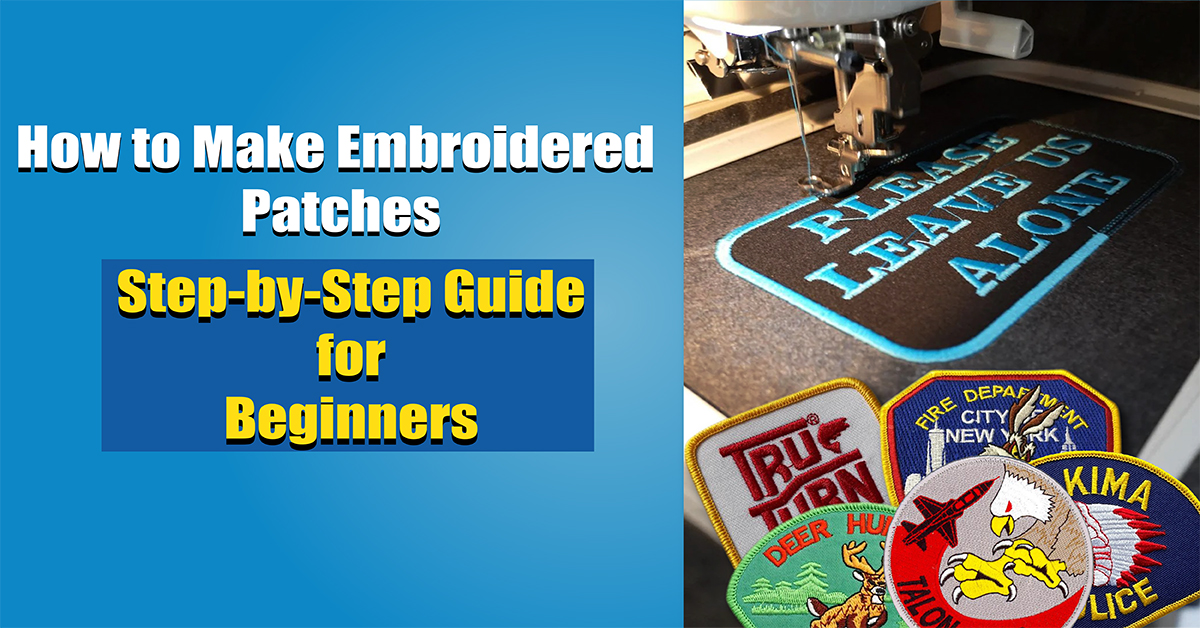
Embroidered patches are a great way to personalize clothing, accessories, and other fabric items. No matter if you’re making patches for a sports team, business branding, or a unique personal project, this guide will show you how. Learn how to make embroidered patches and get high-quality results every time with these tips.
Embroidered Patches: What Are They?
Embroidered patches are decorative pieces of fabric stitched with thread. These patches are durable and can be attached to clothes or accessories with sewing, ironing, or Velcro. Common uses include:
The uniforms
Promotional stuff
Making clothes your own
Events to celebrate
Patches are a popular choice for personal and professional use because of their versatility and durability.
The materials you’ll need to make embroidered patches
Gather the essentials before you start:
Stitch your design with an embroidery machine.
Choose polyester or rayon thread for vibrant, durable results.
Choose a sturdy fabric like twill or felt.
Stabilizer: Keeps the fabric from distorting during embroidery.
Fabric and thread can be cut with scissors.
Heat and Bond: Fusible webbing that’s easy to attach.
Embroidery design software: Creates and edits embroidery designs.
It’s important to use high-quality materials to make your patches look professional.
How to Make Embroidered Patches: Step-by-Step
1. Make your patch
Make your design with embroidery design software. Think about hiring a professional digitizing service like Aqua Digitizing if you don’t have any experience.
Make sure the design fits the patch size and don’t go overboard with details that might not stitch well.
2. Get the fabric ready
Make sure the fabric is a little bigger than the patch size so you can make adjustments.
The back of the fabric needs to be stabilized so it doesn’t stretch during embroidery.
3. Put the fabric in a hoop
You’ll need an embroidery hoop to hold the fabric in place. Avoid misalignment during stitching by making sure it’s taut and smooth.
4. Put the design in
Follow the manufacturer’s instructions when transferring your embroidery file. Make sure the settings and placement are right.
5. Get your patch embroidered
Start the embroidery machine and make sure it’s running smoothly.
Finish by removing the fabric from the hoop and trimming the excess stabilizer.
6. Finish the patch and cut it
Make sure you leave a small border around the embroidered design.
You can apply Heat and Bond to the back so it’s easy to iron-on.
7. Put the patch on
Attach your patch using one of these methods:
The most secure method is sewing.
For heat- and bond-backed patches, ironing is quick and easy.
Removable patches with Velcro.
Here are some tips for making high-quality patches
Make sure you use a durable thread: Polyester thread is great for patches that get a lot of wear.
Test Your Design: Embroider a test design on scrap fabric to see if anything’s wrong.
Your patches will last longer if you use high-quality fabric and stabilizers.
Use an expert digitizing service like Aqua Digitizing for intricate designs.
What makes Aqua Digitizing the best embroidery company?
The team at Aqua Digitizing specializes in turning your artwork into embroidery-ready files. Make your patches perfect for any project, whether personal or professional, with our services.
Aqua Digitizing’s benefits:
Digitizing for embroidery that’s high-quality.
We’ve got fast turnaround times and affordable rates.
Get expert guidance to make your creative vision a reality.
Final thoughts
You can add a personal or professional touch to your clothes with embroidered patches. Using the right materials, tools, and techniques, you can make stunning patches. Make sure your designs are executed flawlessly by using a reliable digitizing service like Aqua Digitizing.
AllStitch, a trusted source for embroidery supplies and resources, has more resources and supplies for embroidery projects.
Let your creativity run wild with patch-making. If you’re designing patches for a team, a business, or just for yourself, these tips and steps will help you make them durable, attractive, and just right.
 315-215-0681


