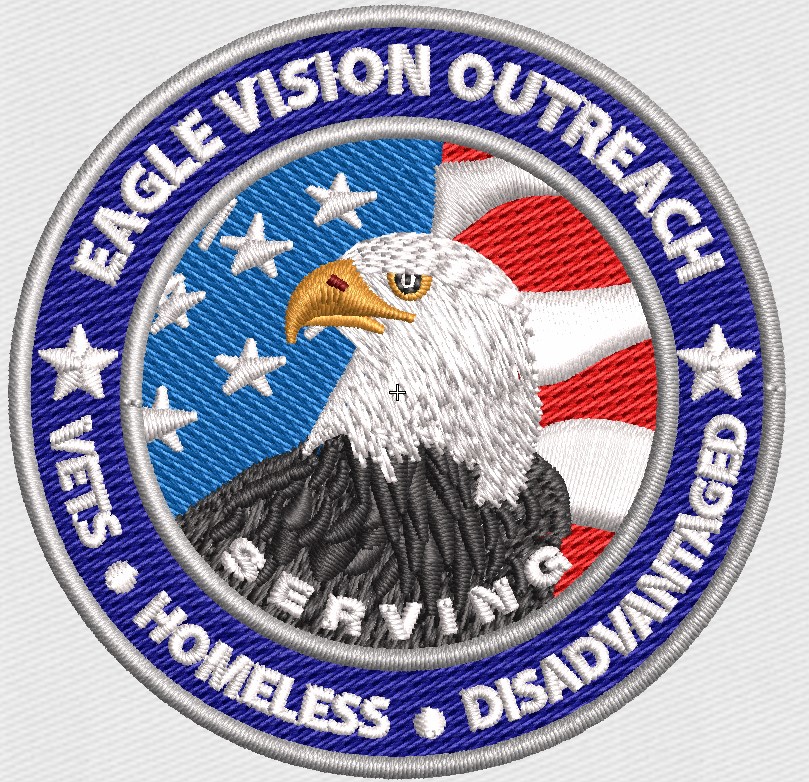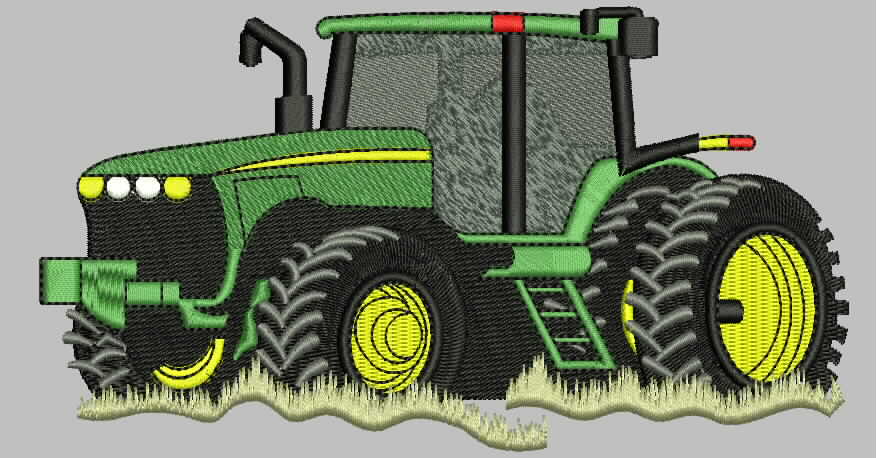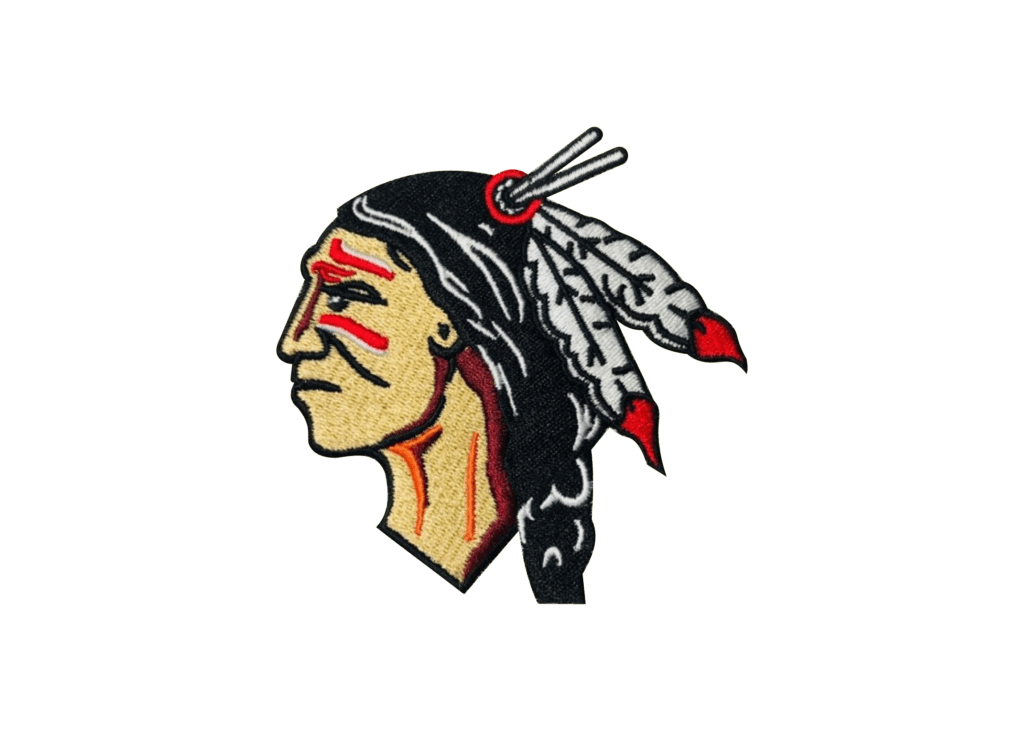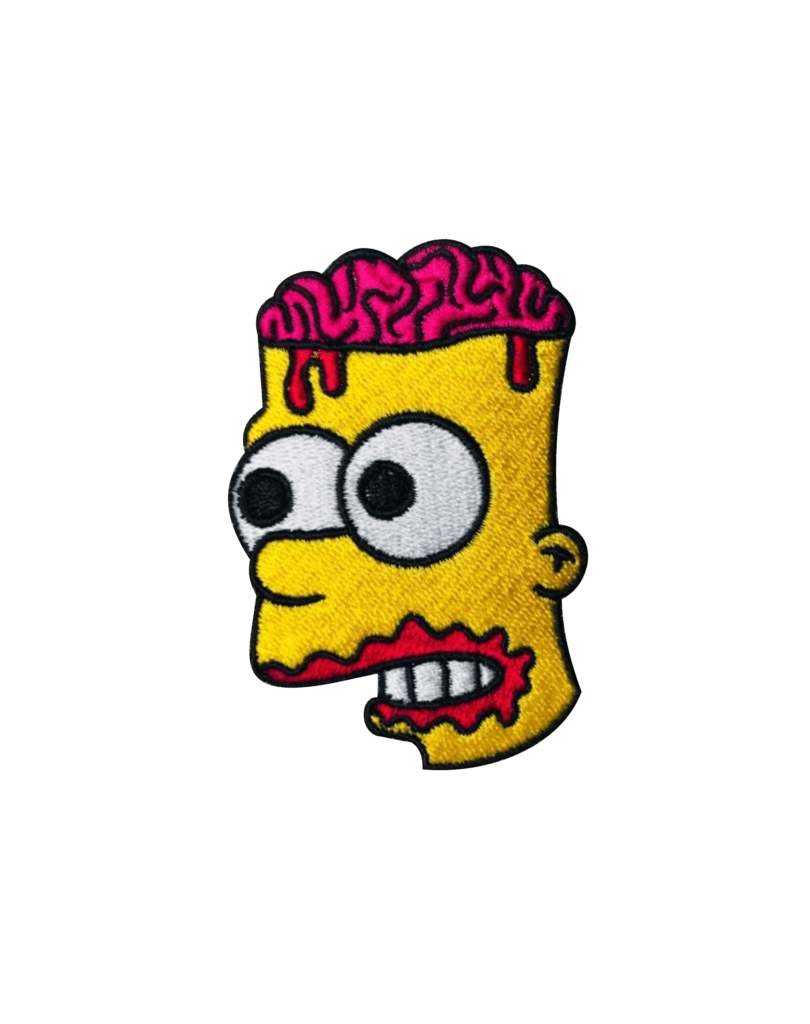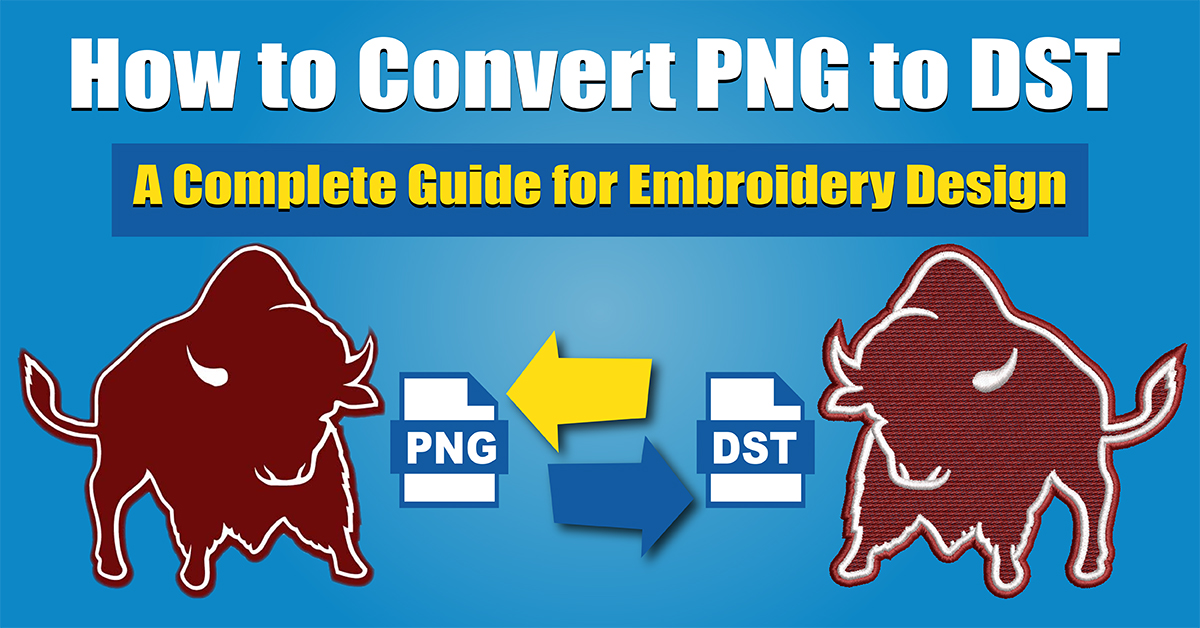
What you need to know about converting embroidery files from PNG to DST
Embroidery File Conversion: Unlocking the Power
Digital images need to be converted into machine-readable formats for embroidery to work. A popular conversion is from PNG to DST, especially for embroidering logos, artwork, or custom designs. No matter if you’re a pro or just an embroidery enthusiast, you need to know how to convert PNG to DST. We’ll walk you through the process with best practices and helpful tools, including Aqua Digitizing’s professional services.
What is a DST File?
DSTs (Data Stitch Tajima) are widely used in embroidery. DST files contain detailed instructions for embroidery machines, unlike PNG files, which are raster images. Stitch sequences, thread colors, and stitch types are all included. To convert a PNG to DST, you need to digitize the image so that an embroidery machine can reproduce it accurately.
Converting PNG to DST: Why?
You can convert a PNG to DST to make a thread-based design. You can use DST files for everything from company logos to custom artwork to personalized gifts. Fashion, branding, and promotional products are especially good places to use this conversion.
Converting PNG to DST: Tools and Software
PNG to DST conversion can be done with a lot of tools and software. Some of the best options are:
Wilcom: A powerful, professional-grade embroidery digitizing program with advanced features.
Embird: This software is great for small businesses and home embroiderers and offers robust digitizing features.
PE-Design is Brother’s software for embroidery enthusiasts who want control.
Digitizing services: Aqua Digitizing can take care of the conversion for you, making sure your PNG file is perfectly digitized for embroidery.
How to convert PNG to DST step-by-step
You can convert your PNG file to DST by following these steps:
1. Get your PNG file ready
Make sure your PNG file is high-quality and doesn’t have unnecessary details. Try to keep it simple, because embroidery may not work well with complex images.
2. Open the PNG in your software
Choose your embroidery software (Wilcom, Embird, etc.) and import the PNG file. “Import” or “Open” options are usually available in most software.
3. Convert the design to digital format
During digitizing, the design is traced, stitch types are assigned, and thread colors are selected. The results produced by manual digitizing are typically more accurate and better than those produced by some software that offers auto-digitizing. Auto-digitizing can be helpful for beginners, but complex designs may not be handled perfectly.
4. Set the stitch parameters
Make sure your embroidery design looks smooth and polished by paying attention to the density, type, and direction of the stitches. The settings should be adjusted according to the fabric type and complexity of the design.
6. Save the DST as a file
Once your design has been digitized and optimized, save it as a DST file. Verify everything, including stitch paths and color assignments, before finalizing the design.
Converting PNG to DST: Common Challenges
1. Dealing with complex designs
A PNG image with a lot of detail can be hard to stitch. Remove fine details or unnecessary elements to simplify the design. You can also hire a professional digitizing service like Aqua Digitizing.
2. Make sure your thread colors match
You need to make sure the colors you assign in the design match the thread colors your machine can handle. To make this easier, most software includes thread color libraries.
3. Density of stitches
Too many stitches can result in a low-quality output, while too few can make your design bulky. A high-quality finish starts with adjusting the stitch density in the software.
PNG to DST Conversion: Why Choose Aqua Digitizing?
If you’re having trouble converting PNG to DST or want professional results, Aqua Digitizing can help. Aqua Digitizing stands out for these reasons:
Our years of experience ensure your designs are converted accurately, preserving details, and optimized for embroidery machines.
Aqua Digitizing offers custom services so you get exactly what you want, whether it’s color matching or special stitching.
Each design goes through a quality assurance check to make sure it’s up to par.
Conclusion: Mastering PNG to DST Conversion
Converting PNG to DST is essential for anyone who uses embroidery machines. Digital images can be turned into stunning embroidery designs with the right tools and a systematic approach. You can either do the conversion yourself using Wilcom or Embird, or get professional help from services like Aqua Digitizing. If you practice and use the right techniques, your designs will come to life.
 315-215-0681
