315-215-0681
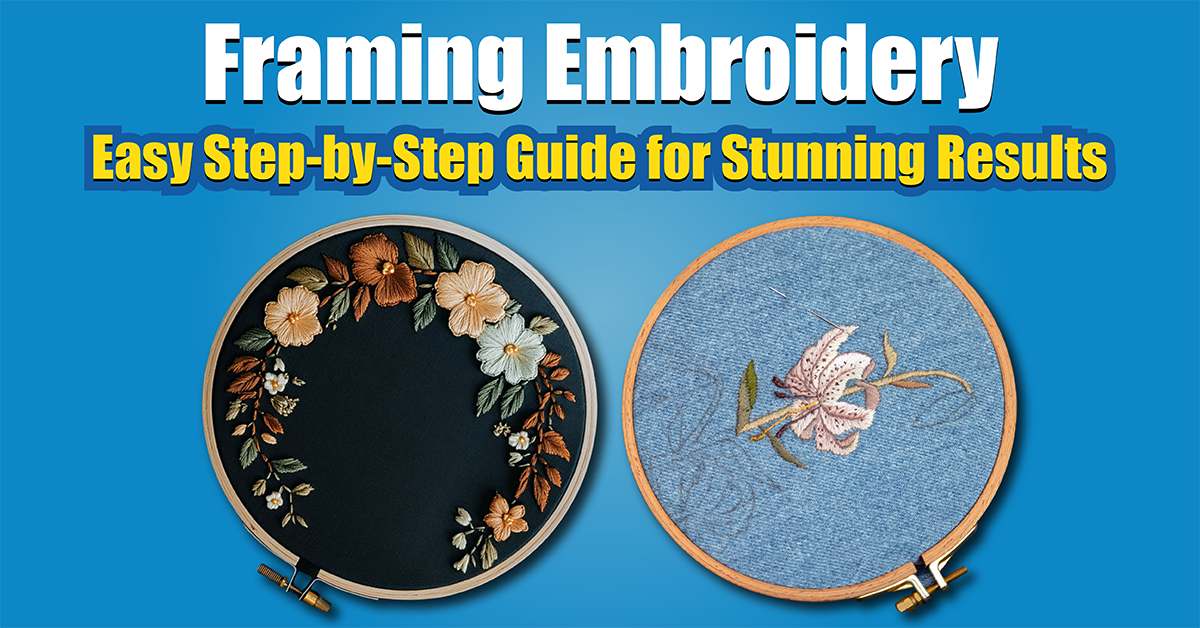
Framing Embroidery: A Step-by-Step Guide for Perfect Results
Beautiful and intricate, embroidery is a timeless art form. The right way to frame embroidery can elevate your creations, preserving them beautifully for generations. We’ve got everything you need to know about framing embroidery, from choosing the right materials to taking care of it.
Embroidery framing: Why it matters
By framing your embroidery, you’re not only highlighting your artistic talent, but you’re also:
Keeps your work dust-free, dirt-free, and damage-free
Makes your embroidery look more decorative
Defends against fraying and fading
Choosing the Right Frame for Embroidery
Choosing the right frame is essential for showcasing and protecting your embroidery. Take these things into account:
Material
Make sure your embroidery fabric and threads are protected with high-quality, acid-free frames. Metal frames offer a sleek, contemporary look, while wooden frames offer classic elegance.
Size
To avoid overcrowding or distortion, make your frame a little bigger than the embroidery. Make sure your embroidery has at least a 1-inch margin.
Style
Your embroidery’s design and color palette should match the frame style. The artwork looks better with a complementary frame.
Explore framing options from professional suppliers here.
How to Prepare Embroidery for Framing
Make sure your embroidery is flawless by preparing it right:
Embroidery Cleaning:
Use a soft-bristle brush to get rid of dust and dirt.
Use a damp, lint-free cloth to get rid of stains.
Safely iron:
Low heat is best for ironing embroidery.
Make sure the embroidery fabric is protected from the iron.
Fabric mounting:
On acid-free mounting board or foam board, stretch embroidery evenly.
Keep the fabric smooth, taut, and wrinkle-free.
Techniques for framing embroidery
The following techniques are popular for framing embroidery:
Lacing Method
With this traditional method, embroidery fabric is sewn to a mounting board with durable thread, offering secure and adjustable tension.
Stretcher Bars
Stretcher bars create a professional, gallery-like finish for embroidery pieces with large frames.
Matting
By adding a mat, you enhance the depth of your embroidery and prevent the fabric from touching the glass.
Learn more about matting techniques here.
Maintaining Your Framed Embroidery
You can extend the life of your embroidery with proper care:
Avoid direct sun: Prolonged sun exposure fades embroidery colors. Use indirect or filtered light to display your framed art.
Keep your frame clean and dust-free by using a soft, dry cloth.
Avoid direct contact with fabric when handling framed embroidery to prevent damage or stress.
Frequently Asked Questions (FAQs)
Can embroidery be framed without glass?
Yes, embroidery can be framed without glass, though additional care is needed to protect the fabric from dust and environmental factors.
How do I clean vintage framed embroidery?
For delicate or antique embroidery, consult a professional conservator to safely restore and clean your piece.
What’s the best way to hang framed embroidery?
Use sturdy hanging hardware suitable for the frame size and weight, ensuring it’s level and away from high-traffic areas.
Conclusion
Framing embroidery is a skill that complements your stitching expertise, transforming your embroidery into preserved masterpieces. If you follow these steps for framing embroidery, you’ll be able to enjoy vibrant, protected artworks for years to come.
Ready to explore more embroidery framing ideas? Discover inspiration here.
Happy framing!