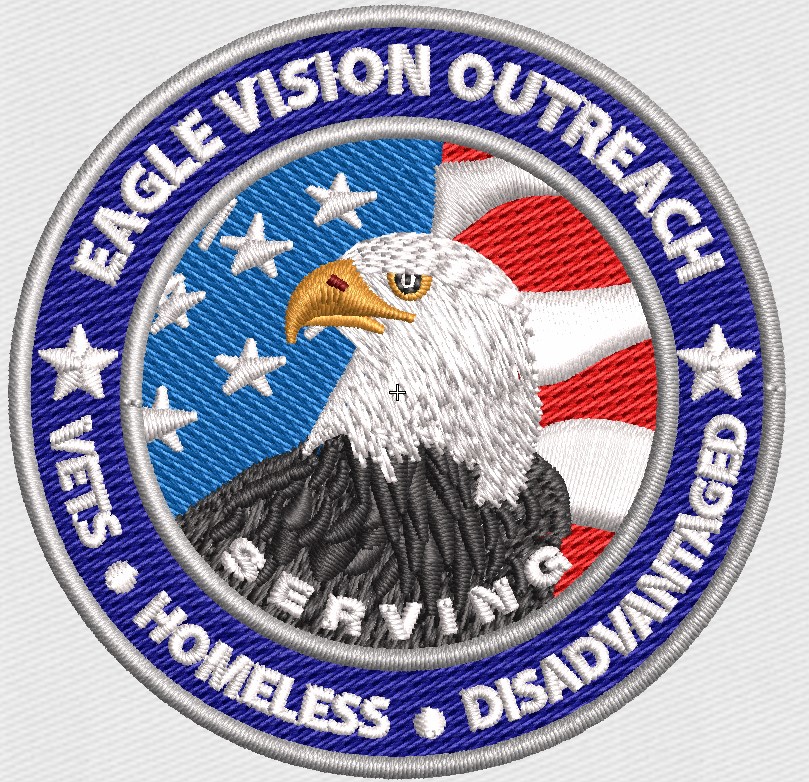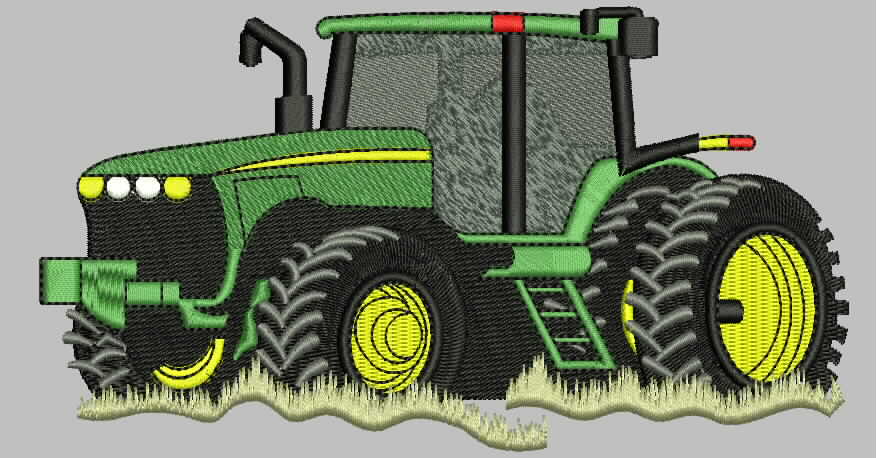
Here’s how to convert a .JPG to a PES embroidery file
PES Files: Bringing Digital Designs to Life
Modern software lets you create detailed, machine-generated embroidery designs instead of hand-stitched patterns. The PES file format is one of the most popular for embroidery machines, like Brother and Babylock. The most common image format, however, is .JPG. How do you convert a .JPG to a PES? Our guide will walk you through the process step-by-step, so you can turn your digital images into beautiful embroidery.
What is a PES File?
A PES file is a specialized format used by embroidery machines that contains all the data for stitching. You’ll find details like:
Colors of thread
Types of stitches
Sequences of stitches
In contrast to .JPG files, which are just images, PES files carry complex information, so your machine will stitch the design correctly.
Step 1: Pick the right software for conversion
You will need embroidery-specific software to convert a .JPG to a PES file. The following are some of the most popular programs:
Wilcom
Embroidery Hatch
PE-Design by Brother
You can import .JPG files and convert them to stitch-ready formats with these tools. In the case of more complex designs, Aqua Digitizing can provide high-quality conversion services.
Step 2: Import and prepare the .JPG file
As soon as you’ve chosen your software, you’ll need to import your .JPG file. You can do this by following these steps:
Choose a software program and open it.
You can import or open an image by selecting “Import” or “Open Image”.
Select the .JPG image you wish to convert.
Clean up the image once it has been imported. Distinguish the lines and colors by removing unnecessary background elements. It will be easier and more accurate to convert a clean image.
Step 3: Digitize the image
The digitizing process converts an image into a format your embroidery machine can read. Stitch around the shapes in the image to outline them.
It’s pretty easy to convert an image into stitches with embroidery software’s “Auto Digitize” feature. Often, though, it’s better to adjust these manually for detailed or intricate designs:
Types of stitches (satin, fill, or running stitches)
Follow the design’s flow when stitching.
Setting the underlay to ensure good stitch stability.
Step 4: Export the file as PES
You’re ready to export your PES file once your design is fully digitized. Here’s how to do it:
Choose “Save As” or “Export.”
You can choose the PES format.
Don’t forget to save it.
Make sure you preview your design before you finalize it in your embroidery machine’s software. Before stitching, you can double-check the file for accuracy and make sure it looks great.
The Art of Converting .JPG to PES
At first, converting a .JPG to a PES embroidery file might seem intimidating, but with the right tools and practice, it’s easy. Whether you’re creating designs for fun or for work, mastering this skill will give you endless creative freedom. Choose your favorite .JPG image, choose the right embroidery software, and start designing.
Using this guide, you can convert any .JPG image into a PES file, allowing you to do all kinds of things with embroidery. Have fun stitching!
 315-215-0681


