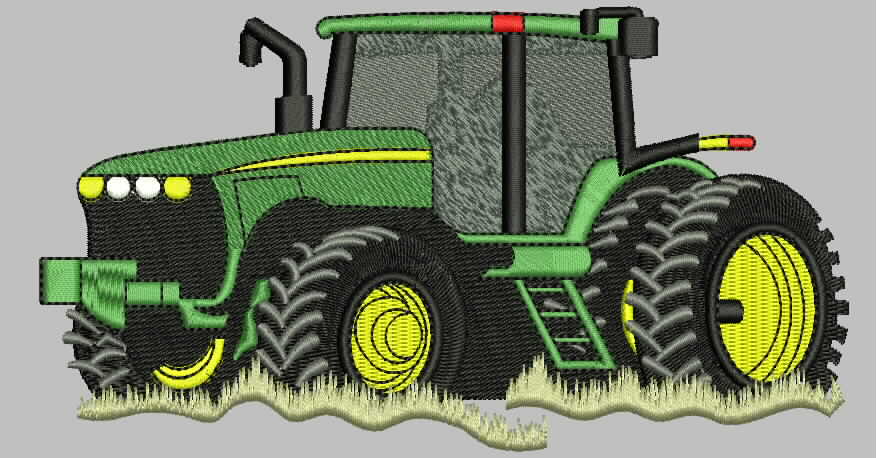
Most of these errors are caused by incorrect thread tension, needle size, or stitch length.When the embroidery machine reads poorly digitized designs, they may be distorted, resulting in errors.The type of fabric used for embroidery can also affect the accuracy of the design.
What are the 7 most common reasons for commercial embroidery failures?
ERRORS?
Commercial embroidery seems to be predicated on the incidences of blunders by Murphy’s, Sod’s, and Finagle’s Laws of predication that the worst results will only occur at the worst possible time!
With these simple solutions to a few of the most common problems, you will be able to prevent production errors and flaws and keep your business running smoothly.
What is the MAIN question here?
This is a very simple fact. It is possible to make mistakes when embroidering commercially. Problems always seem to arise at the most inopportune times, such as when you are working on a tight deadline or when you are working with a high-priced fabric stock. An embroider who is new to the art of embroidery may feel confused and unable to resolve a problem accurately when dealing with errors during production. In such cases, mistakes must be rectified on the spot in order to save time and resources. There are times when a predetermined solution to the expected error is the best way to handle things precisely.
The following are the top 7 mistakes to avoid when embroidering hats:
Especially difficult and more prone to quality problems are caps and hats. The result can be poor quality more quickly than you can imagine if you are not careful.
Error #1: The embroidery machine is being operated at an extremely high speed.
The solution is to keep things calm.
Staying calm is the best course of action in an emergency. It may seem that disasters do not occur during the normal course of events. In speedy production with expensive items, things always go wrong at the worst possible time.
For forming the best embroidery design, it is important to slow the speed and not be overly hasty. In general, a machine should be able to stitch approximately 600 stitches per minute when stitching a hat frame and approximately 750 stitches per minute when stitching a flat hat. This is only a rough estimate and merely a suggestion.
It is impossible to draw conclusions from comparing one design with another. The ultimate solution for a design with intricate details or minute aspects, such as tiny letters, is to slow your system down. You can improve registration in cases of intricate embroidery designs by slowing down to approximately 550 stitches per minute for hat frames and 650 stitches per minute for flat frames. It is more cost-effective and easier to do the embroidery right the first time if the embroidery machine is slowed down
It is important to avoid products that are unnecessary.
If you deliver a poorly finished product to your customer, having a fast delivery time does not matter at all. An incorrectly sewn item should be removed quickly and repaired as soon as possible. This may result in worsening the situation, such as tearing the fabric. You are more likely to have a bigger disaster if you proceed too quickly.
Keeping cool, composed, and self-confident is the best strategy for fixing commercial embroidery errors. If you freak out, you will only invite an even clumsier situation! Plan a methodical approach to addressing the problem.
Error # 2: Improper hoops:
The solution is to hoop in order to keep your options open.
If mistakes are discovered during commercial embroidery, the first step is to keep the garment in the embroidery hoop. It is important to indicate the point of incidence where a problem occurred in the design when you identify a need for repair. Make a note of where the machine stopped and the stitch count.
There are times when the position of the garment can be recorded directly on the stabilizer. There is often a problem just before the ending point, giving you a reference point in the design. It is not very helpful to leave the machine at the same point and wait for the problem to be resolved, especially when using a multi-head machine such as the SWF K-Series.
The design should be reset and the next piece should be sewed, unless the repair is extremely simple. Time wasted could cost you several runs while you spend a half-hour removing stitches. The embroidery yard should maintain an extra Durkee hoop in various sizes in case one needs to be repaired.
Error # 3: Failure to monitor thread tension
The solution is to give the thread a sufficient period of tension.
Mistakes related to thread tension are among the most common blunders in commercial embroidery. Maintain regular thread tension checks in order to prevent future errors. If you fail to do so, your quality department will be kept busy for a long time to come. The quality of your stitches is always determined by the tension, which enables the stitch to be nice and tight.
For logos and letters to appear crisp and impactful, you should always ensure that your commercial embroidery machine has the right thread tension.
Error # 4: Failure to pay attention to the bobbin
The solution is to cross check the placement of the bobbins
You should check the thread tension every time you change bobbins. When driving, do you wear a seat belt? The situation is almost identical. It becomes second nature to cross check once you develop a habit of doing so. If the bobbin is either too loose or too tight, the embroidery will be of poor quality. It is a fast and easy procedure that is essential to maintaining a stable level of quality. To avoid future errors, it should be repeated every time.
Error #5: Failure to change needles frequently
Timely replacement of needle pieces is the solution.
Changing needles on commercial embroidery machines is not subject to any written rules. It depends on several factors, such as the number of hours the machine runs, the type of material used, and the quality of the needles. Regularly checking your needles and replacing them as necessary is a good habit.
Error #6: Incorrect placement of the design
Accurate placement is the solution
The customer may request that an embroidery design be lowered next to the bill when embroidering a hat. A common example of this can be observed at mall kiosks when purchasing embroidered products. It may be difficult for the client to understand why it is not a good idea to decorate the cap with designs at a low level.
It is a simple matter. Embroidery should be placed below a hat’s bill, rather than;
The hat should be assembled before it is stitched. In the past, stitching was usually performed on a flat panel program. The majority of professional embroiderers work with garments that have already been made. A design cannot be placed less than half an inch from either the front bill or sides of the hat.
Other placements may compromise the quality of the hat, the embroidery, or both. Additionally, catching a needle on the cap bill or frame may cause the machine to crash.
Error #7: Ignoring the digitization process
Keeping track of minute details is the solution
In commercial embroidery of caps, the most common mistake is failing to digitize logos or designs according to the specific product. A file designed for a flat product, such as a T-shirt, will not work if you are embroidering on caps or hats. In contrast to a flat frame, the push and pull compensation of a curved substrate is different. The pull compensation data for rounded surfaces can be modified by a professional embroidery digitizer. Maintaining high quality and reducing the number of products you need to recreate can be accomplished by avoiding these mistakes.
In just a few simple steps, you can produce quantities of embroidery caps that are of the highest quality and maintain customer satisfaction
Using your hands.
 315-215-0681


