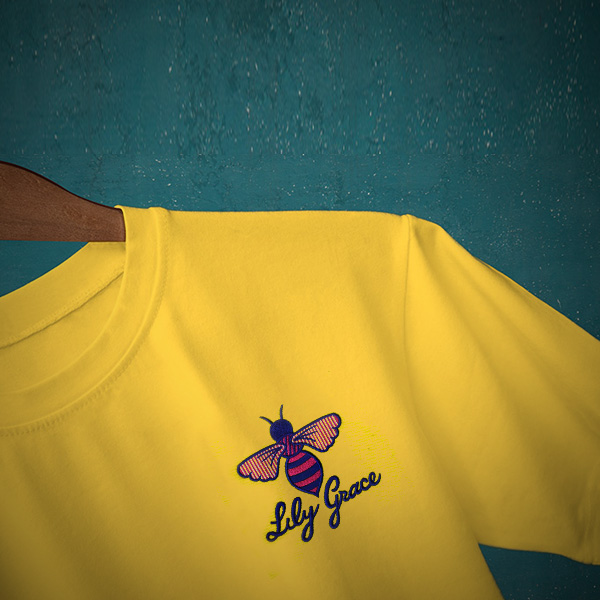
The first step is to select a 3D puff design.
There is no design that can be stitched as a 3D puff shape, which is the most common but most important aspect of 3D puff embroidery. In this step, select a design with fewer details, such as letters. Simple designs with bold, wide satin stitches can be created using puff embroidery. Due to the fact that satin stitches do not compress foam nearly as well, the final design can have greater depth as a result.
The second step is to digitize your design using 3D puff
As with any other design digitized for embroidery, such as puff embroidery in 3D, we must specifically digitize a design that gives us a puffy appearance during embroidery.We need to assign stitches before and after placing the foam in order to give our design a beautiful puffy appearance.
Due to the complexity of this process, most people choose to outsource 3D puff logo digitizing. In the same way as all other types of digitizing service providers, Aqua Digitizing is one of the world's best providers of 3D PUFF EMBROIDERY DIGITIZING services.
An embroidery digitizing software program should be able to help you convert an image file such as jpg or png into DST format if you wish to do it yourself. Depending on the type of machine you are using, the file format may vary.
The third step is to insert the file into the embroidery machine
After receiving the machine files from Aqua digitizing or if you have done it yourself, you can simply insert the files into your embroidery machine. The file will be transferred to the embroidery machine once it has been transferred. As soon as this file is interpreted, it starts 3D Digitizing. Machines are programmed with the sequence of threadors and other design elements
Step 4: Properly position the cap or jacket on the machine
Embroidery machines are equipped with unique hoops that hold and position the cloth sample. You must keep it placed so that it embroiders the design at the exact point where you need it
The fifth step involves embroidering the outline first
We are not yet ready to begin the 3D puff embroidery magic! Puff embroidery designs are based on the outer layer of your design, which is first embroidered by the machine, followed by the inner layer of your design.
In step six, the foam should be placed over the design
If you wish the embroidery puff to appear exactly as you desire, it should be placed in the center of the outline layer. In order to ensure that it does not lose its shape over time, the puff is taped to the cloth. In order to sew the product into your product, you must press the start button on your machine.
In step seven, the excess foam is removed.
Remove the outer layer of unused foam to reveal your 3D foam embroidery, also known as 3D puff embroidery.
 315-215-0681
 315-215-0681