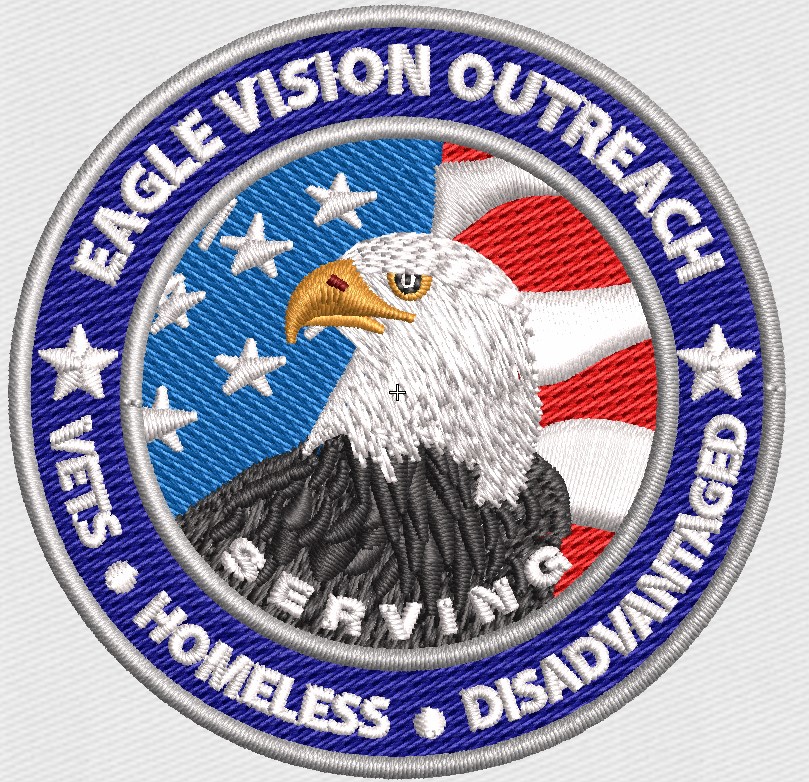
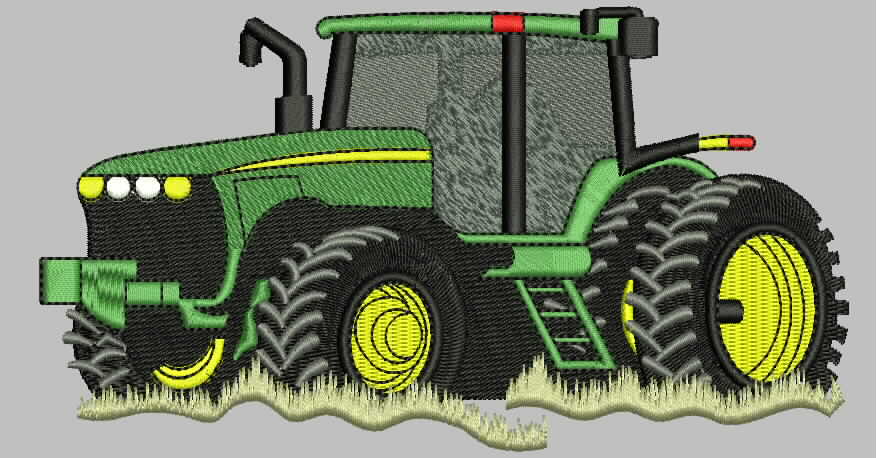
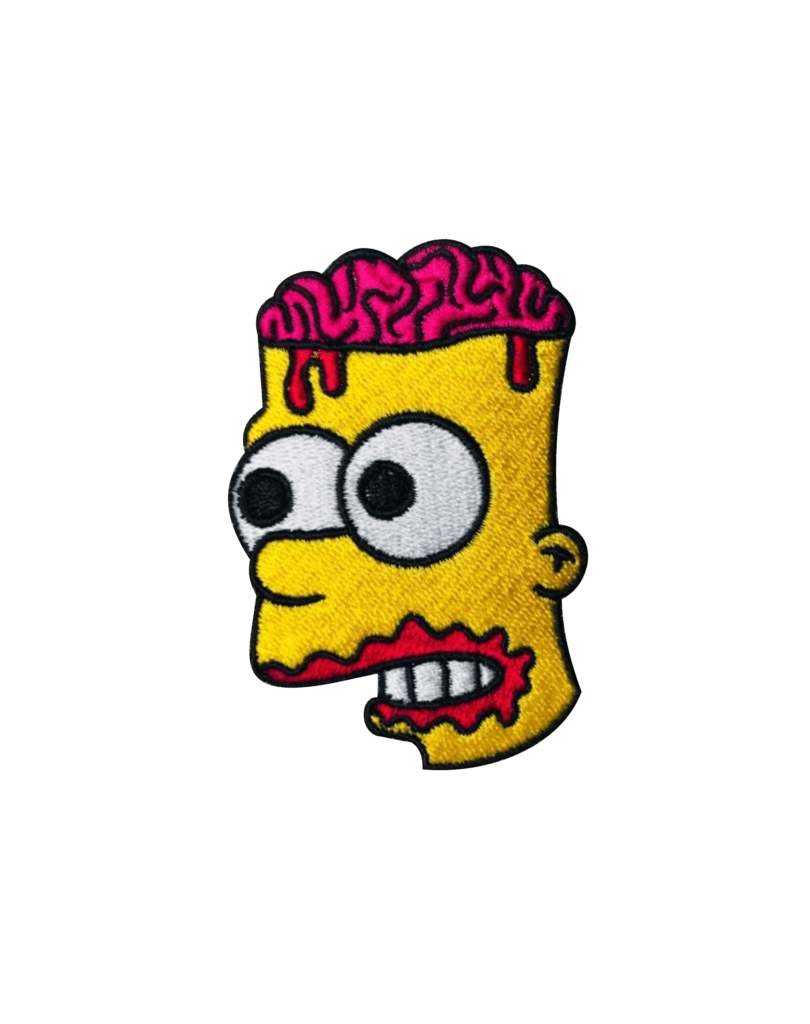
In the world of digitization Aqua digitizing is the rising name. They have well equipped and well-trained workers. They provide many services like embroidery digitizing, custom digitizing, vector art conversion, 3D puff designing and many more. Amongst them, 3D puff designing is very specialized work.
What is 3D puff digitizing?
This is the embroidery wherever a part of the design or lettering puffs escape before the release. You will usually observe this kind of embroidery on baseball hats, sports hats and like. The charm or any of the lettering may be suggested to join base and length to a design. 3d puff embroidery can be intimidating, but it doesn’t become to be. Only work with puff stuff and precise digitizing. Creating this kind of embroidery can serve you to gain more clients and prepare more extra orders by making something any of your trial won’t happen or haven’t got the chance to determine .The profound 3D effect comes from the use of 3d embroidery foam. This is where the name 3D puff embroidery comes from. The use of puff increases the height of design and thus, by increasing the depth, it renders the 3D-effect.
3D puff digitizers:
Our technically reliable and genuinely experienced digitizers can apply any of your designs into highly efficient Puff Embroidery digitized patterns, all according to the terms given to us by the client when presenting the idea. Clients can more recognize which particular states they would like to have the puff below to get it the standout feature of the overall plan and the settled embroidery pattern will be given to the client in the form, immediately executable by their special embroidery devices.
Some basic tips to getting started right with 3D puff embroidery:
- The digitizing is necessary. You will need to have more working stitches to give up for the place the puff is getting. We suggest doing software to get it easier on you. There may trial and error to this section of the plan, so make some time to do the trial.
- See whereby to continue services to your device. You should be competent to put an end in following a particular shade change.
- Hold the foam down and implement the ribbon to keep it in position. Once the original stitches match into the foam, you ought not to worry regarding it working anymore.
- Pick the part of the foam in origin, and then sew satin stitches. This plan will additionally create a ‘mark’ in the foam to just pull it up.
- Quickly discontinue the device and cut off the excess foam.
- Complete the remainder of the embroidery and cover the foam area.
- After the achievement of your design if you need to clean the excess of foam you can use nippers and heat guns. Nipper’s use for the part which was not cut properly. For the quick and elegant look, you can use a heat gun which contracts the foam and present cleanness to your work.
- Foam works most useful on designs that become a large edge and satin stitches across the foam. Understand that any design cannot be taken in foam. For instance, a large enough stitch above foam or too many layers of material may not provide an attractive look.
- The sharp needle gives high effectiveness on cutting the excess foam. Be sure to practice the help you usually do on a plan. Backing is sometimes necessary.
 315-215-0681


