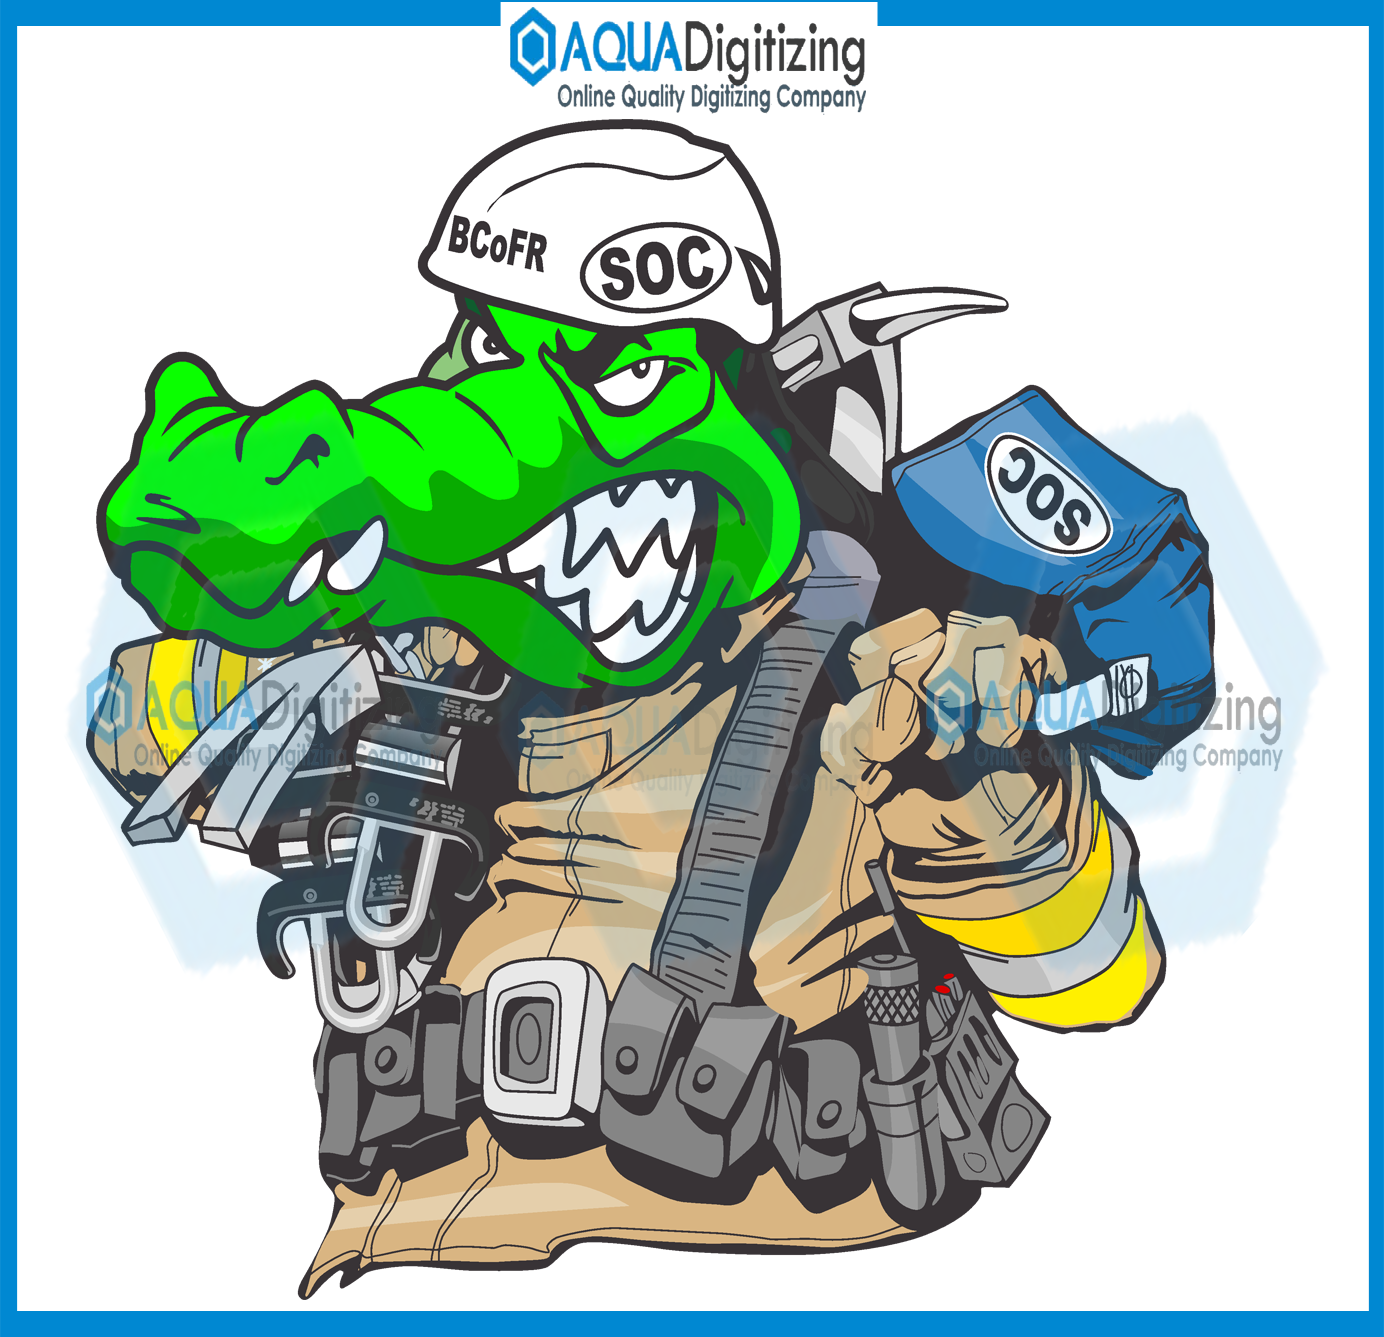
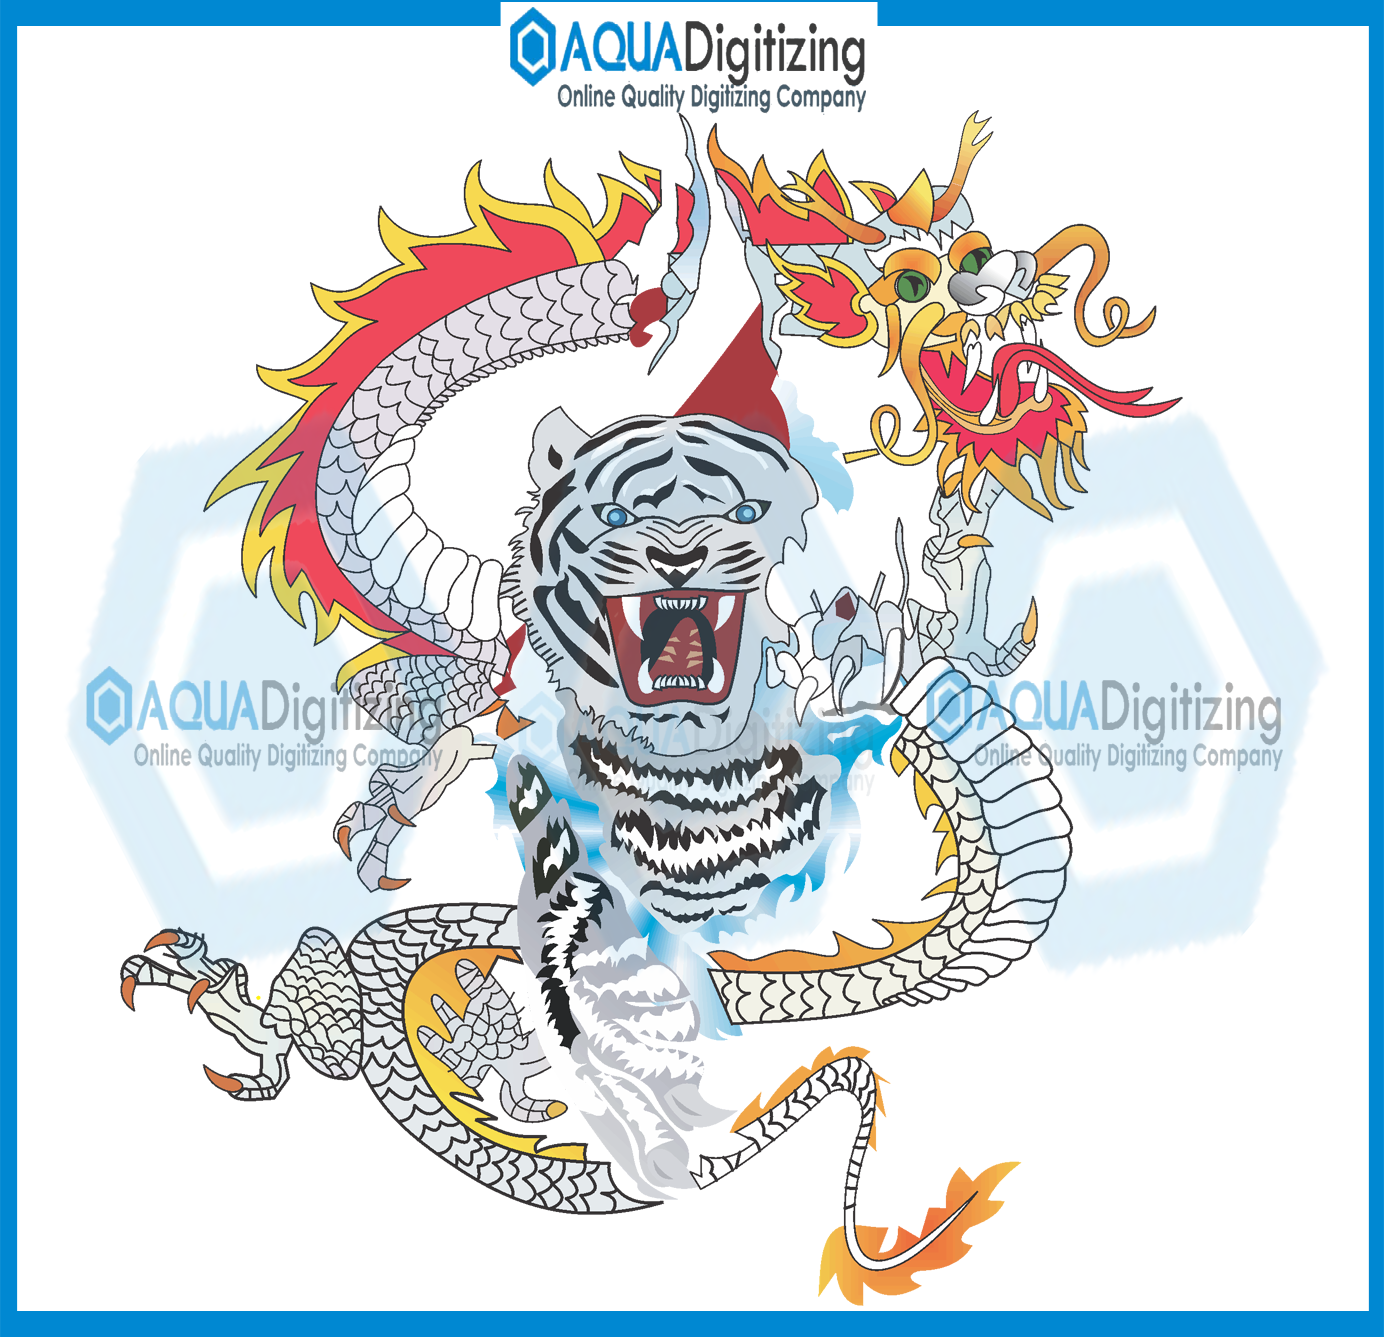
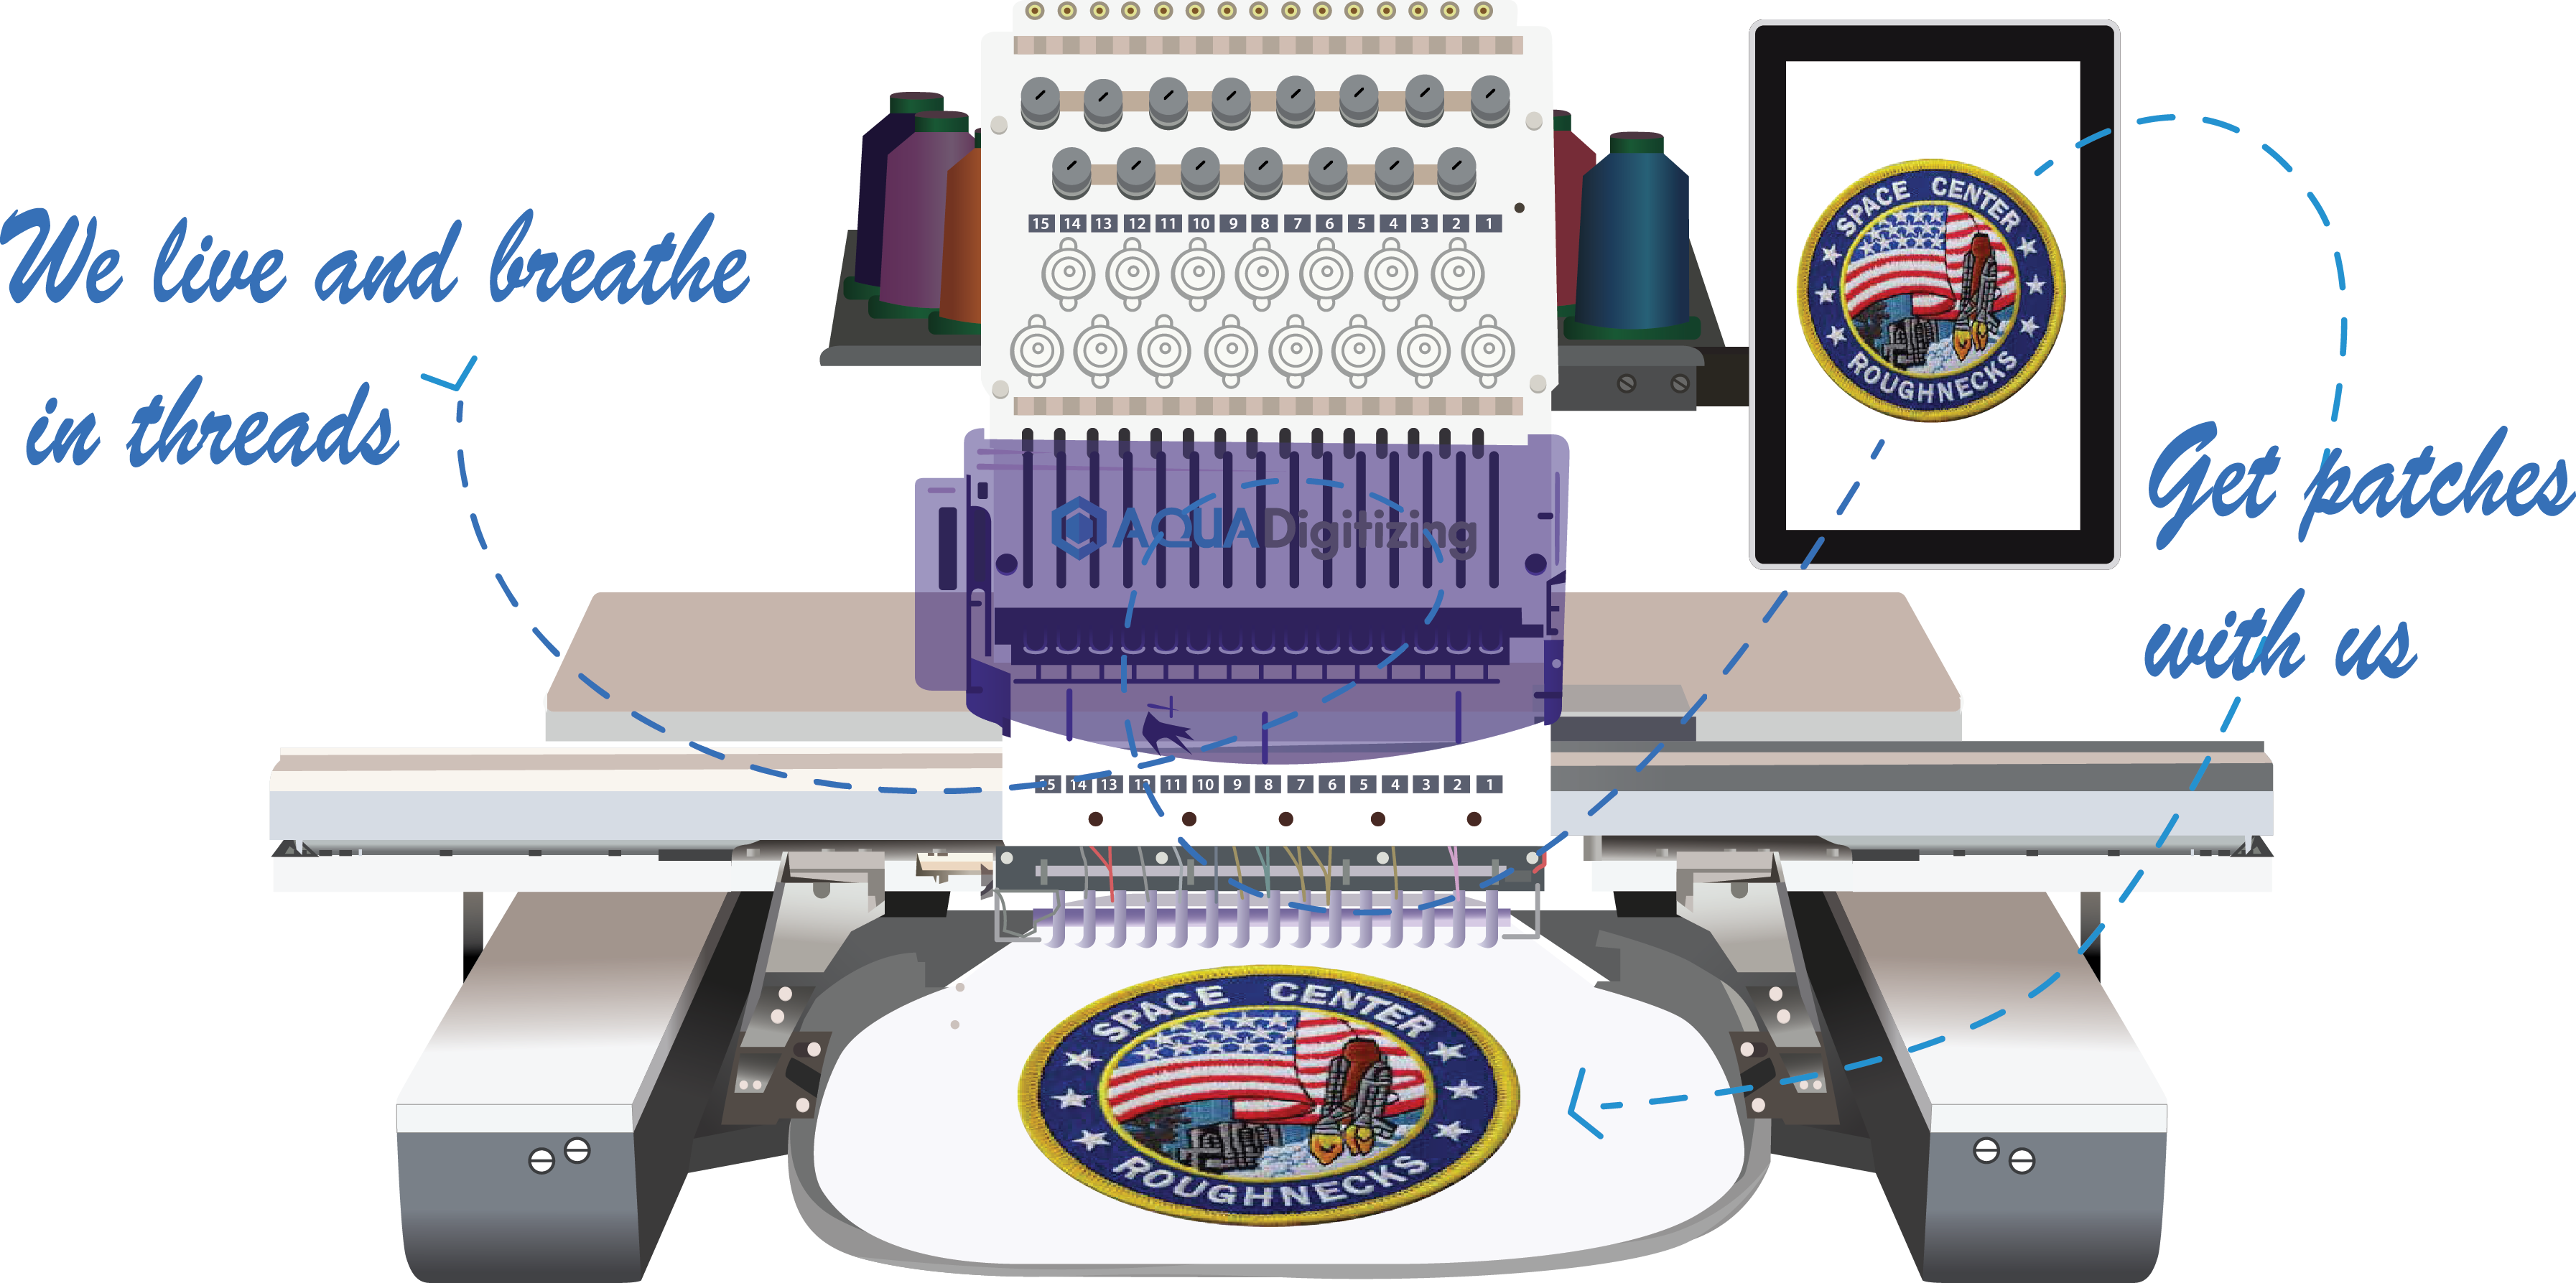
Without any doubt, Embroidery can enhance the appearance of any clothes especially the formal one. There are many Embroidery Digitizing Softwares to digitize new images. Embroidery digitizing for an image now consider as a specialized art. This kind of work has the capability to captures many eyes of the people. It has been in use for the old times and proceeds to rule the fashion trade. Digitizing the embroidery of images is a new trend in the fashion industry. By this method, you can convert old designs into a beautiful and productive one.
Take your imagination from the next running level. In images digitizing for embroidery, there are infinite options to provide and complete your requirements. Now digitizing embroidery gives the number of chances to place stitches with Embroidery Digitizing Machines. If you own any brand or any business or if you do this at home embroidery machines not only helps you. Also saves you much time. Working on a low scale or small scale both need digitized files.
How to Digitize an Image for Embroidery?
You can use any image or picture to digitize. Every sort of image can be digitized If it is cartoon, animal, either panorama or sketch of people. If you use the right method of digitizing you can get perfect outcomes. Digitizing is not a simple task. To start your embroidery digitizing for an image. There are some steps which you have to follow.
Open any embroidery digitizing software.
Use that software properly.
Choose perfect stitches and adjust the length.
Underlay management settings.
Adjustment of layouts in images.
Step 1:
Open any embroidery digitizing software:
If you start your embroidery digitizing for an image, you need to select any proper software. After this use the blank desktop to digitize new blank design. And import the picture which you will digitize.
Step: 2
Choose perfect stitch type and adjust the length:
If you need perfect digitizing setting is the major part. Start your digitizing with outline and divide your image in different columns. By embroidery digitizing software you can select number of options. Contract or stretch them to obtain a precise fit. For larger designs use larger stitches and for the smaller designs use small stitches. Adjust the length of your image. Which is the most important part.
Step: 3
Underlay management settings:
If you’re working any file which is digitized already so in this case layouts will continue. To manage the strain of coverage in pre digitized file there is a need of more stitches for the underlay. Use 1/3 of stitches in single layer.
Step: 4
Adjustments of textures:
In large image cases, when you’re working on large designs. Every single detail can be seen. For the perfect work you need to work on surroundings too. Only first layer can be seen other layers are hidden. Only the top layer is visible to the human eye so the second and third layers are concealed. They give stability to the design and you see the opportunity to become artistic with shades throughout the sew out.


